Java developers are familiar with building war or jar files using their preferred tools but in a Microservice architecture, they will also need to build docker images.
Building an image is not always an easy task, a minimum of docker knowledge is required, writing a docker file, running a docker daemon, and finally, building and publishing an image to a registry.
Making the Docker build process integrate with your app build tool is becoming more obvious. There are several Maven/Gradle docker plugins that emerge like Spotify docker plugin and fabric8 Docker plugin.
In this article, we are going to focus on Jib, an open-source container image builder developed by Google that uses a new approach.
Jib allows for Java build containers using Maven or Gradle without a dockerfile or a docker daemon installed.
Docker build flow
There are many steps between your project and your container being on a registry.

We need a Dockerfile and the docker daemon installed as root, which can bring complexity to a CI/DC pipeline.
JIB build flow

Jib provides a build process that hides all the complexity of a docker build flow.
Add JIB to your application
Jib requires minimal configuration, we just need to add the plugin to the pom.xml and configure the target image :
<plugin>
  <groupId>com.google.cloud.tools</groupId>
  <artifactId>jib-maven-plugin</artifactId>
  <version>1.3.0</version>
  <configuration>
    <to>
      <image>gcr.io/my-project/image-built-with-jib</image>
    </to>
  </configuration>
</plugin>
Build and Push the image
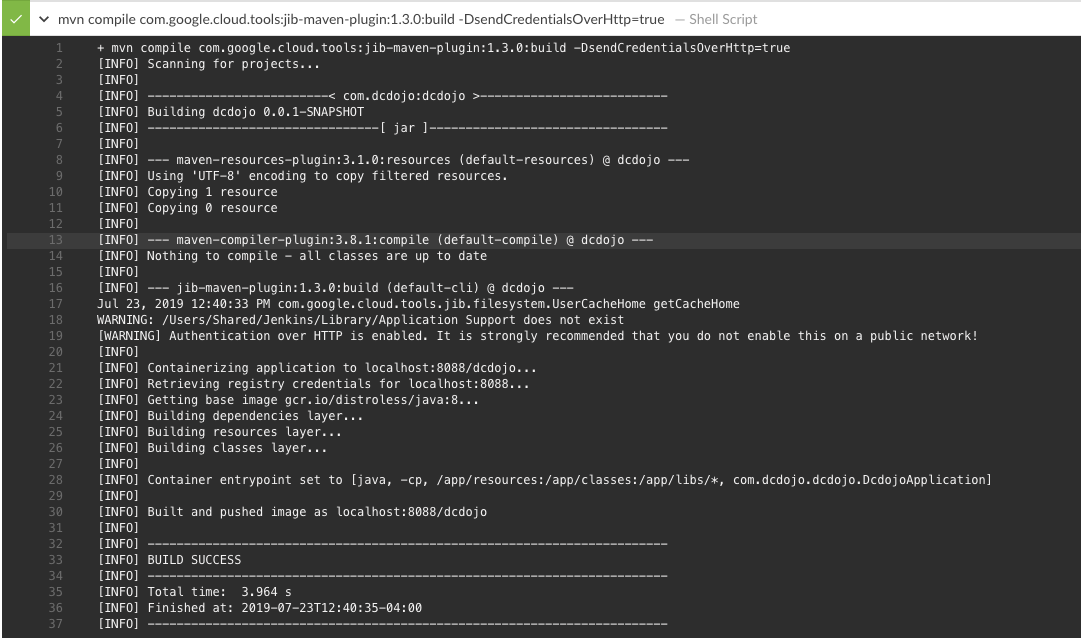
We can simply build the image with mvn compile jib:build,
or add this step to a Jenkins pipeline to automatically build and publish the image, no docker daemon is required on the Jenkins server.
stage('build and push docker image') {
    steps {
    // Using Google JIB plugin
    sh 'mvn compile com.google.cloud.tools:jib-maven-plugin:1.3.0:build'
    }
}
Jib's build approach separates the Java application into multiple layers so when there are any code changes, only those changes are rebuilt, rather than the entire application. Jib packs the Java application into a container by deducting what it needs from your Maven or Gradle project, which results in a faster build process.

Advanced Configuration
For users who require authenticating with private registries, Jib provides Docker credential helpers for AWS Elastic Container Registry and other cloud providers, it also supports Nexus private repository.
Jib also provides advanced configuration for choosing the image, ports, etc ...
Example
This is an example of an advanced configuration from the Jib website:
- The image is built from a base of openjdk:alpine (pulled from Docker Hub)
- Pushed to a local private nexus repository localhost:5000/my-image:built-with-jib, localhost:5000 my-image:tag2, and localhost:5000/my-image:latest
- Runs by calling java -Xms512m -Xdebug -Xmy:flag=jib-rules -cp app/libs/*:app/resources:app/classes mypackage.MyApp some args
- Exposes port 1000 for tcp (default), and ports 2000, 2001, 2002, and 2003 for udp
- Has two labels (key1:value1 and key2:value2)
- Is built as OCI format
<configuration>
  <from> (1)
    <image>openjdk:alpine</image>
  </from>
  <to> (2)
    <image>localhost:5000/my-image:built-with-jib</image>
    <credHelper>osxkeychain</credHelper>
    <tags>
      <tag>tag2</tag>
      <tag>latest</tag>
    </tags>
  </to>
  <container>
    <jvmFlags> (3)
      <jvmFlag>-Xms512m</jvmFlag>
      <jvmFlag>-Xdebug</jvmFlag>
      <jvmFlag>-Xmy:flag=jib-rules</jvmFlag>
    </jvmFlags>
    <mainClass>mypackage.MyApp</mainClass>
    <args>
      <arg>some</arg>
      <arg>args</arg>
    </args>
    <ports> (4)
      <port>1000</port>
      <port>2000-2003/udp</port>
    </ports>
    <labels> (5)
      <key1>value1</key1>
      <key2>value2</key2>
    </labels>
    <format>OCI</format> (6)
  </container>
</configuration>
Conclusion
Now that the container image is stored in a registry, we need to create a container cluster to run the container image.
We will see in the next post how to deploy our images to Amazon ECS using Jenkins.


