Integration & Delivery
Jenkins is the favorite Continuous Integration platform for developers. Continuous Integration, at its core, is the integration of code into a code base. You can think of it as a strategy to mitigate poor organization and headaches. Continuously synchronizing code of developers into a shared resource and encouraging use of this main-line to keep teams on the same page.
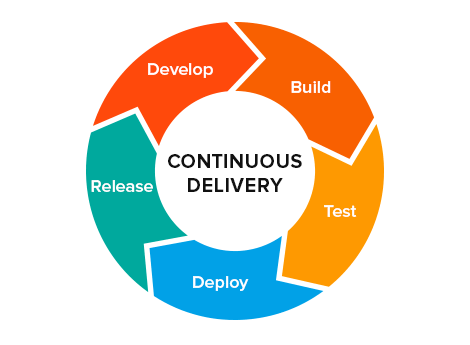
Increasingly, Jenkins has seen use as a Continuous Delivery platform as well. Continuous Delivery is the next logical step of CI: automating the frequent deployment of your code into environments. The benefits of CD are great for agile teams and organizations. Delivering your software to pre-production and production environments to ensure that your product can always deploy.
For this role in delivery and deployment, Jenkins has created a new job type. With the 2.0 release of Jenkins, developers can now leverage Pipelines. Pipelines is the de-facto method for implementing multi-step deliveries with Jenkins and it does so with a sleek UI. Before Jenkins 2.0, you could use plugins like Build-Flow and Build-Pipeline to implement similar UI and logic. Now, creating delivery and deploy pipelines is easier than ever.
Pipeline Scripting
Pipelines are defined with a Domain Specific Language, based on Groovy, that can be checked into version control with your source code. All build-steps can be modeled in the Jenkinsfile and can be as complex or simple as you wish.
Pipeline Script
node {
   stage 'check environment'
   sh "node -v"
   sh "npm -v"
   sh "bower -v"
   sh "gulp -v"

   stage 'checkout'
   checkout scm

   stage 'npm install'
   sh "npm install"

   stage 'clean'
   sh "./mvnw clean"

   stage 'backend tests'
   sh "./mvnw test"

   stage 'frontend tests'
   sh "gulp test"

   stage 'packaging'
   sh "./mvnw package -Pprod -DskipTests"
}
No longer do you need to edit your jobs in the Jenkins web interface. Teams can apply changes to the pipeline by editing the Jenkinsfile and pushing it up for delivery. Complex stages can even be copied and saved for use with other jobs.
Pipeline scripts can be easily broken down into steps, stages, and nodes. The stages will generate a UI segment in the pipeline and can be made up of multiple steps.
stage 'backend tests'  //stage - creates segment
sh "./mvnw test"     //step - executed in stage and generates logs
Nodes are steps that can encapsulate stages and steps to schedule them for use on a build executor. Nodes can also be encapsulated by stages. Adding node specific stages is encouraged for splitting up material work.
stage 'deploy'
node (‘tatami’) {
   sh "cp target/*.war.original /var/lib/tomcat8/webapps/ROOT.war"
}
Labeled nodes will only run on executors and agents that have been labeled for it’s use. Utilizing nodes makes it easy to scale up your integration and delivery needs programmatically.
Stage View
Successfully running the Jenkinsfile will create a pipeline stage view
Errors in the pipeline are easy to locate at a glance
The ability to view your pipeline’s progress in the stage view is a powerful feature. Problems in your pipeline can be found immediately and without diving into log files. Runtimes for individual stages is also useful for understanding where your pipeline is slowing down. Pipelines create a persistent record of your builds and the history can also be viewed from the stage view.
I encourage adoption of Pipelines to any developers and organizations that seek easy and logical delivery for their applications. Definitely check out the Jenkins docs for more info.


